

Set your travel dates and budget
Start by locking in your travel dates and defining a realistic budget range. This step sets the foundation for your entire Disney World trip, influencing everything from park ticket prices to hotel availability. Crowd levels fluctuate wildly throughout the year, so choosing the right window can save you hours of waiting in line and thousands of dollars.
Check crowd calendars for both Walt Disney World and Disneyland. These tools predict attendance based on historical data, school holidays, and special events. Aim for "shoulder seasons" like late January, early February, or late August when crowds are thinner. Avoid major holidays, spring break weeks, and summer peak unless you are prepared for maximum congestion.
Once you have a date range, estimate your daily costs. Factor in park tickets, which vary by date and park tier, as well as meals, transportation, and souvenirs. A realistic budget helps you avoid surprise expenses. For a typical family, daily costs can add up quickly, so setting a hard limit early on keeps the planning process manageable and stress-free.
Book your resort and park tickets
Securing lodging and entry passes is the foundation of any Disney trip. Unlike other theme parks, Disney operates on a strict booking window that opens 500 days in advance for on-site resorts. This early window is where the best value and most convenient locations disappear, so treating this step as a race is wise.
Start by choosing your resort category. The options range from value resorts with basic amenities to deluxe properties featuring monorail access and extended park hours. Use a comparison table to weigh the cost against the transportation benefits and dining options you actually need.

Once your resort is reserved, lock in your park tickets. Disney offers flexible multi-day passes, but be aware that park reservations are often required in addition to the ticket itself. Book these simultaneously to ensure your hotel and park entry align with your desired dates.
| Resort Category | Price Tier | Key Amenities | Transportation Benefits |
|---|---|---|---|
| Value | $ | Pool, food court | Bus |
| Moderate | $$ | Themed pools, table service | Bus, Skyliner |
| Deluxe | $$$ | Multiple pools, character dining | Monorail, Boat, Bus |
The official Disney vacation planner is the only source you need for these bookings. Avoid third-party sites for the initial reservation to ensure you retain access to Disney’s current promotions and package discounts.
Reserve dining experiences early
The 60-day window for Disney dining reservations is your most critical planning tool. Popular table-service restaurants and character meals often sell out weeks before they open to the public. If you wait until you arrive at the park, your choices will be limited to quick-service locations or late-night snacks.
Mark your hotel check-in date on your calendar. Dining reservations open exactly 60 days prior to that check-in date, not the day you plan to visit the park. For a multi-day stay, you can book dining for your entire trip (up to 10 days) starting on that single 60-day mark. This allows you to secure meals for the end of your trip while you are still at home.
Log in to the Disney Parks app or website the minute reservations open. Focus on signature dining experiences like Cinderella’s Royal Table, Chef Mickey’s, and Top of the World. These slots disappear within minutes. Have your party details and payment method ready to check out quickly.

Enter all desired dining dates and times in one session. You can book up to 10 consecutive days of dining starting from your 60-day window. This prevents you from having to log in repeatedly and ensures you lock in your preferred times before they vanish.
If your first choice is sold out, check back frequently. Guests often cancel reservations 1-7 days before their visit. Refresh the booking page early in the morning and late at night when cancellations tend to appear. Use the official Disney Parks app to monitor availability in real-time.
Securing these reservations early transforms your trip from stressful to seamless. You will save hours of planning time and ensure your family enjoys the iconic meals that make a Disney vacation memorable. Check the official Disney vacation planning page for the most current booking policies.
Plan your daily park schedule
Building a daily itinerary for Disney World requires balancing Genie+ selections, Lightning Lane times, and park reservation windows. The goal is to minimize standing in line while keeping your day moving logically. Treat your schedule like a train timetable: if one connection is missed, the rest of the day can fall behind.
1. Secure your first Lightning Lane early
Log in to the My Disney Experience app at 7:00 AM on the day of your visit. Book your first Genie+ selection for a high-demand attraction that is typically far from your hotel or the park entrance. This gives you a head start and ensures you have a confirmed ride time before crowds swell.
2. Stack your next selections strategically
Once you tap into your first Lightning Lane, you can book your next one. Choose attractions that are geographically close to your current location or scheduled for later in the day. This "stacking" method allows you to hold multiple reservations throughout the afternoon, creating a buffer of guaranteed ride times.
3. Use the Disney Genie+ map for real-time adjustments
Open the Genie+ map in the app to view current wait times and availability. If a ride you want has a long standby line but a short Lightning Lane wait, prioritize it. Conversely, if standby times drop unexpectedly, you might skip a Genie+ selection to save it for a later, higher-demand attraction.
4. Schedule breaks and meals around reservations
Do not pack your day back-to-back with rides. Insert dining reservations or character meet-and-greets between Lightning Lane windows. This provides natural rest periods and prevents burnout. Use Touring Plans or similar tools to visualize how your dining times fit with your ride schedule.
Finalize transportation and packing
Getting to Orlando and preparing your gear are the final logistical hurdles before your trip. Start by booking your flights or ground transport early. Orlando International Airport (MCO) is the primary hub, with direct shuttles and rental car options readily available. If you’re driving, map out your route and book a hotel with parking if you plan to rent a car later.
Packing for Disney parks requires a different mindset than a typical vacation. You’ll be on your feet for 10 to 12 hours a day, often in high humidity. Prioritize comfort over style. Break in your walking shoes before you arrive; blisters can ruin your experience faster than anything else. Pack light, as you’ll likely buy souvenirs that need to be carried home.
What to Pack
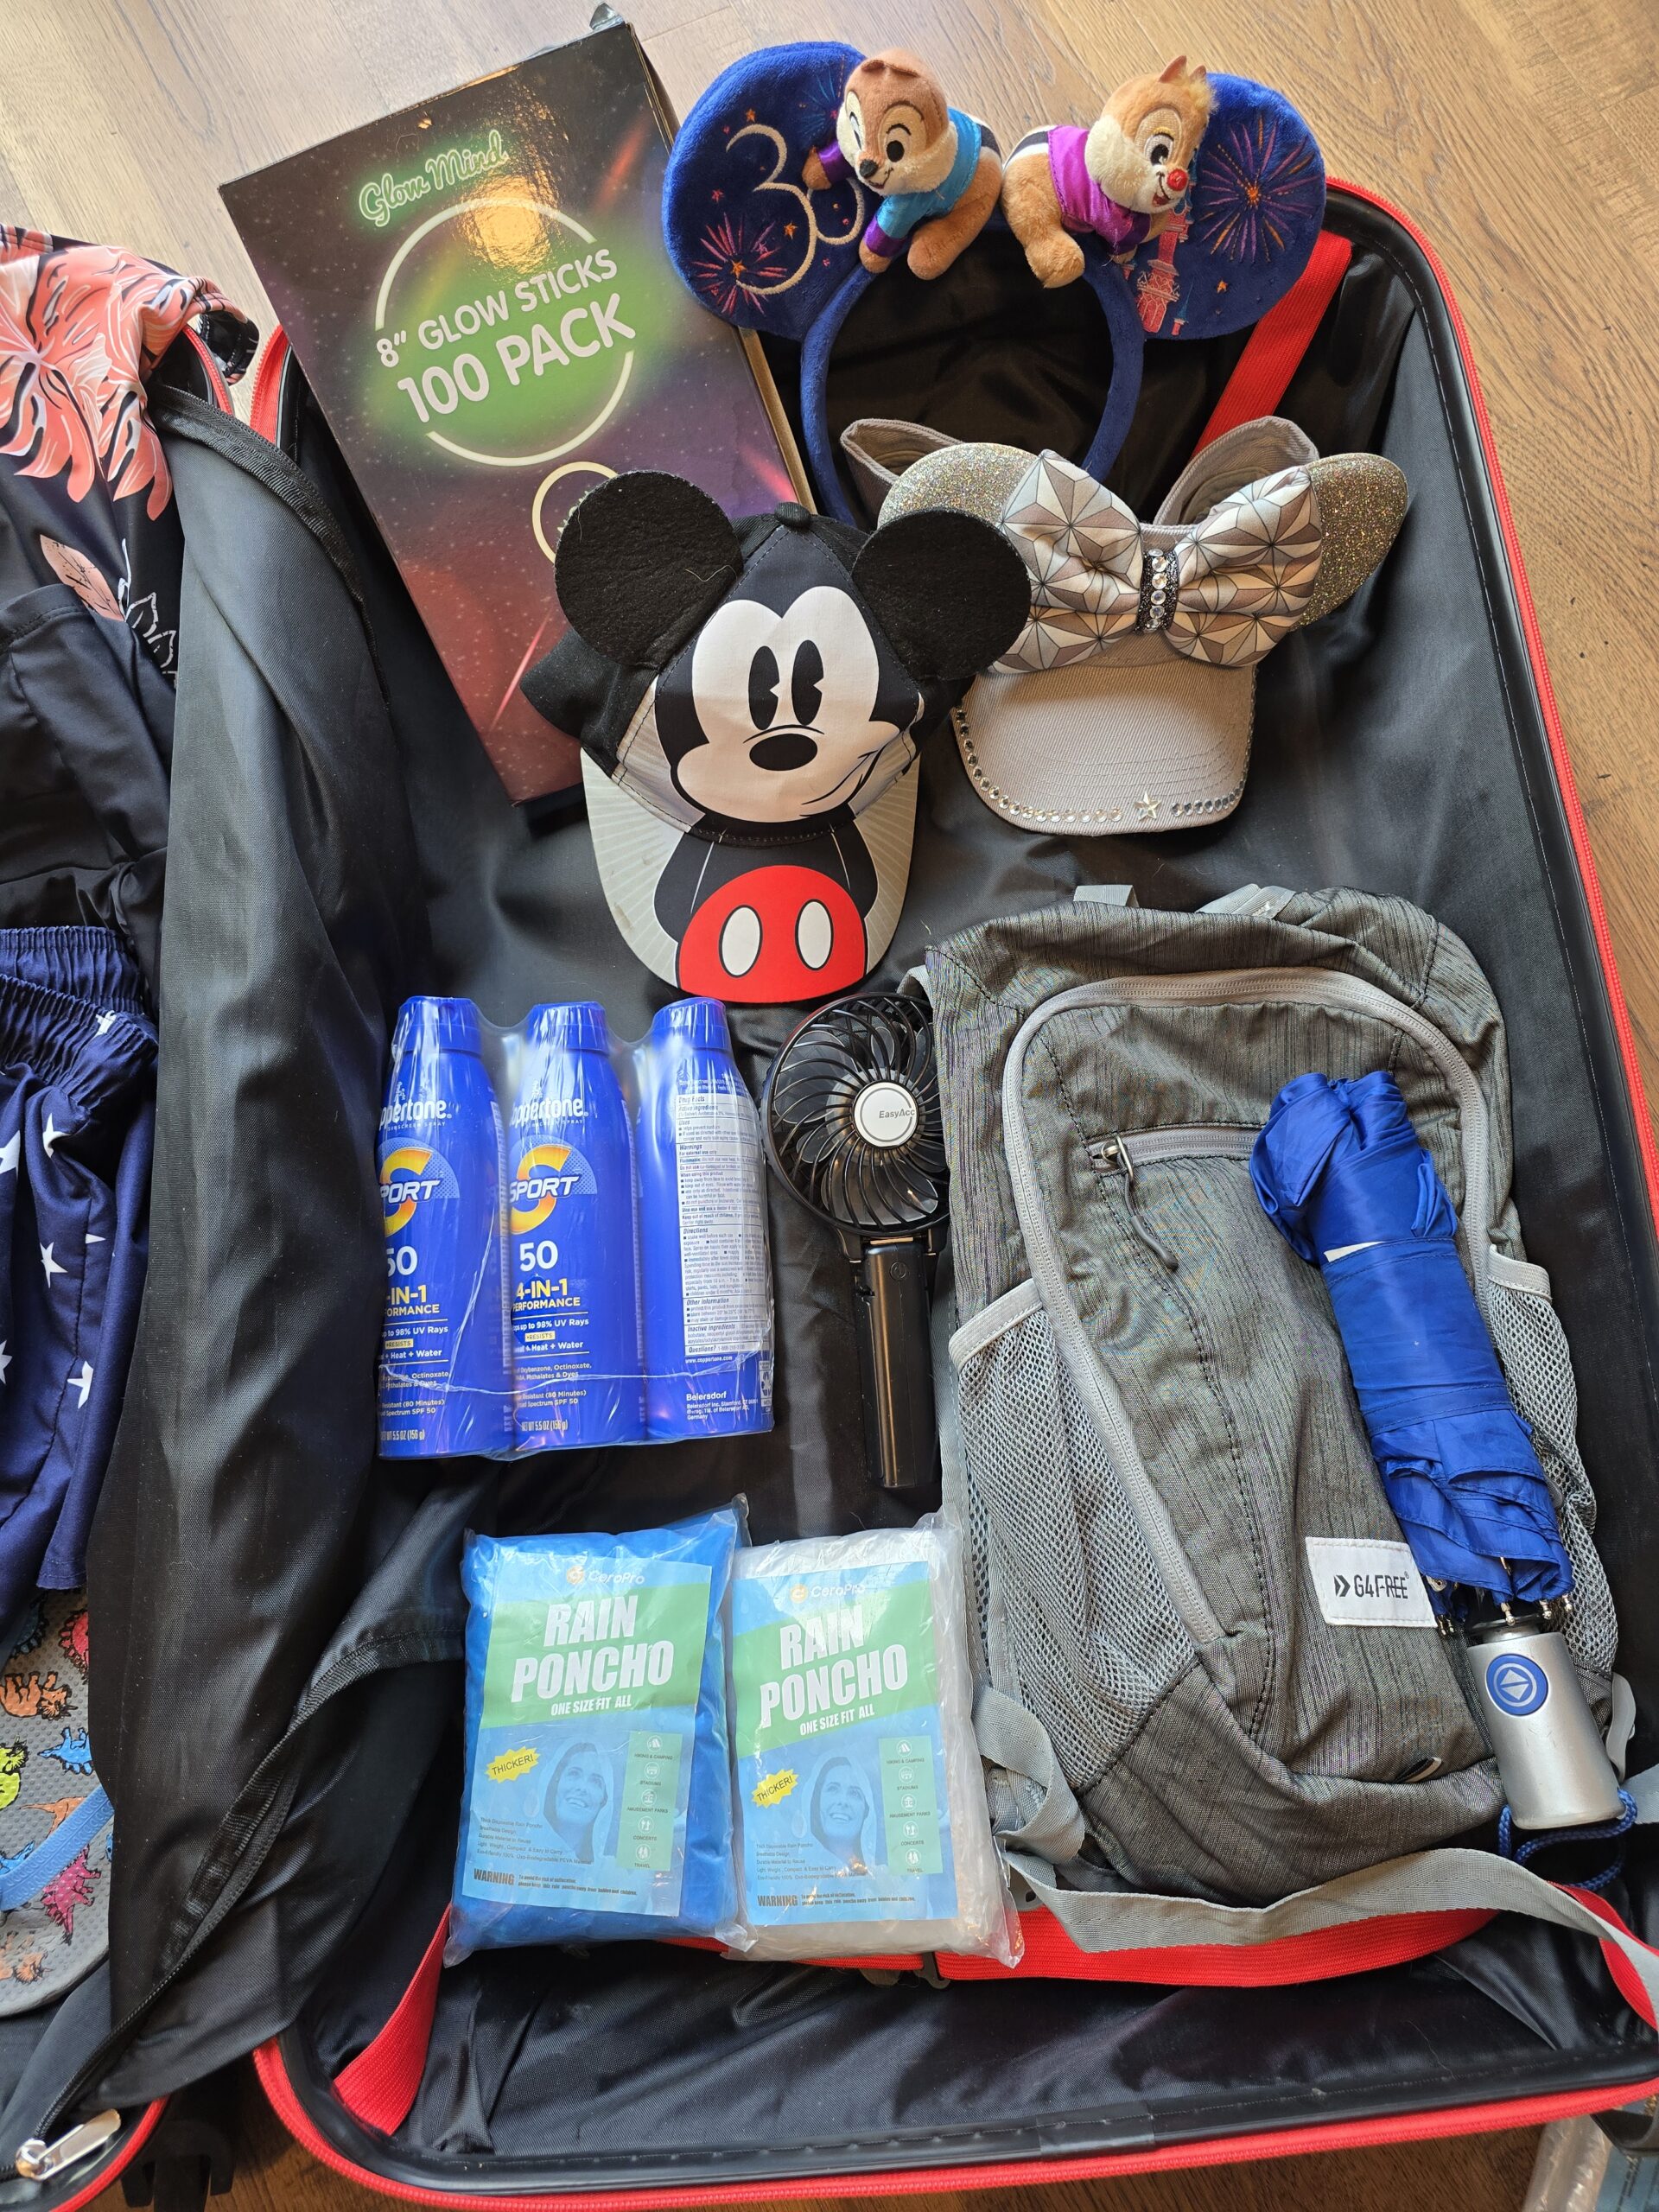
Focus on essentials that keep you comfortable and organized. You don’t need much, but you do need the right items.
- Comfortable walking shoes: Non-negotiable. Wear them for days before the trip.
- Portable phone charger: You’ll use your phone for Genie+, photos, and mobile orders.
- Refillable water bottles: Stay hydrated without buying expensive water inside the parks.
- Rain gear: Orlando weather is unpredictable. Pack lightweight ponchos or a small umbrella.
- Park tickets and MagicBands: Ensure these are linked to your My Disney Experience account before you leave home.
-
Comfortable walking shoes (broken in)
-
Portable phone charger and cable
-
Refillable water bottles
-
Lightweight rain ponchos or umbrella
-
Park tickets and MagicBands linked
-
Sunscreen and hats
-
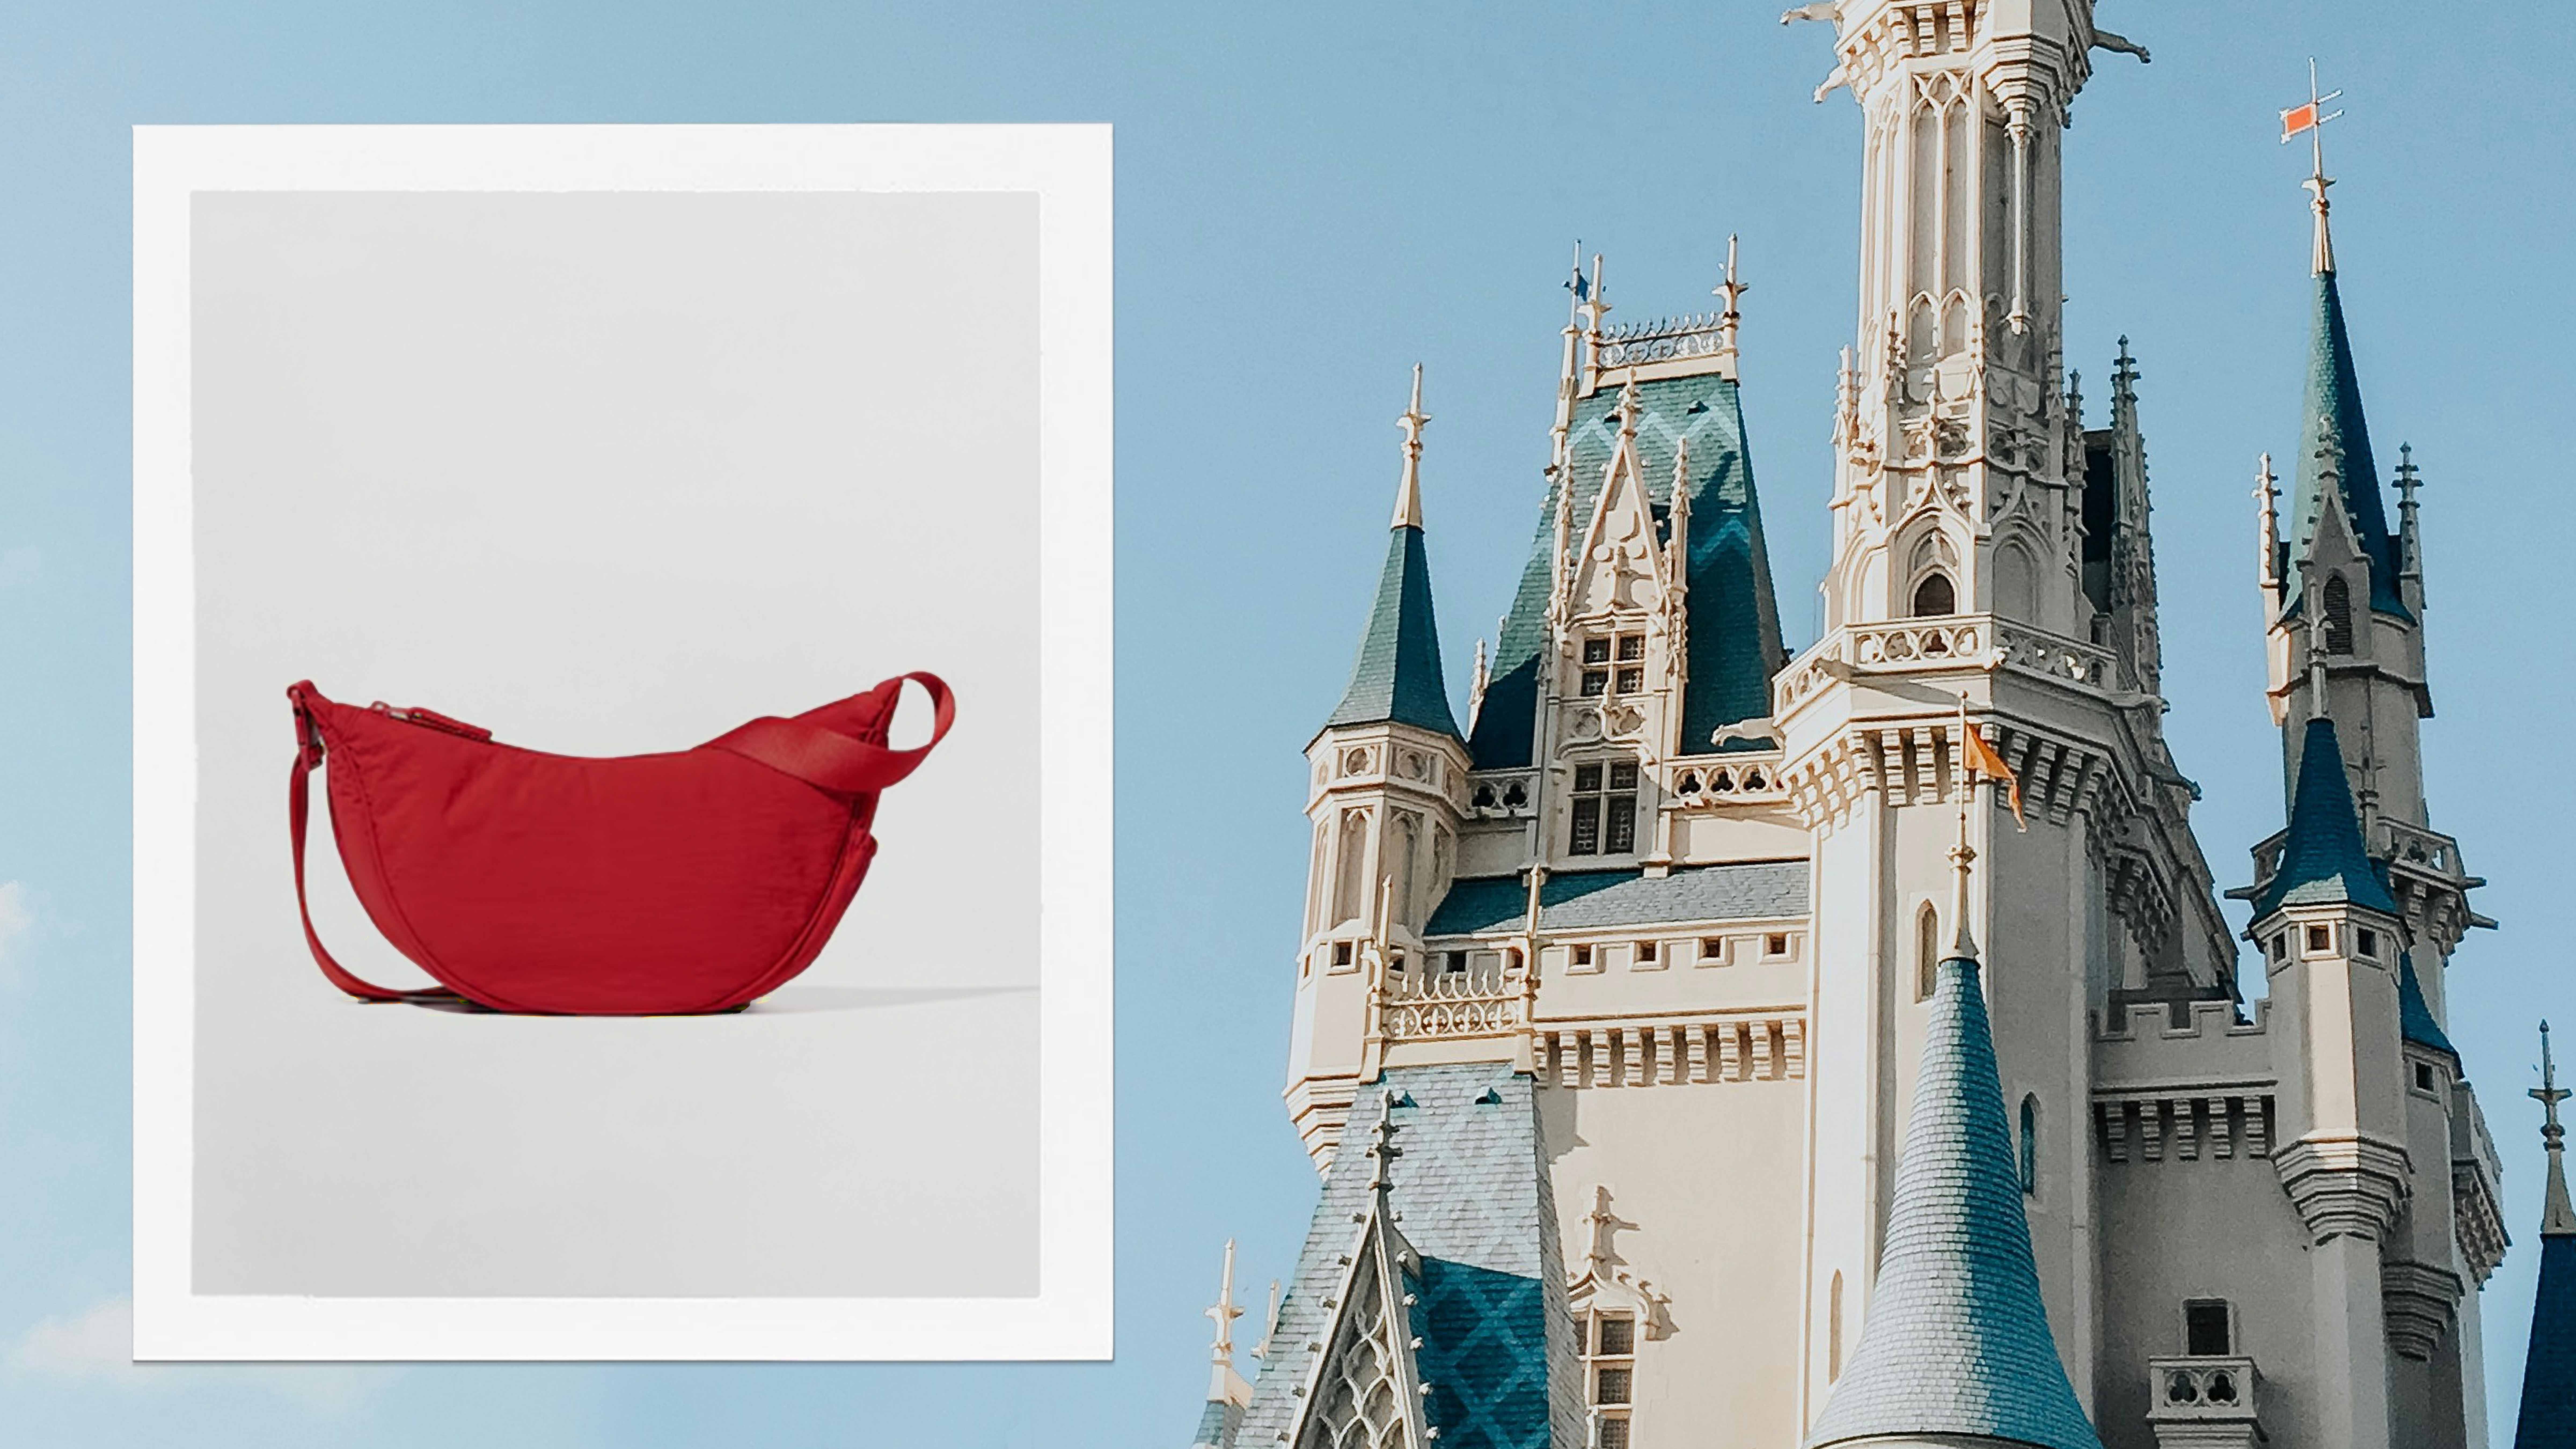
Small backpack or crossbody bag
Once your bags are packed and your transport is confirmed, you’re ready to lock in your dining reservations and park hopper tickets. These final steps ensure you won’t miss out on popular experiences when you arrive.
No comments yet. Be the first to share your thoughts!